I got an Arduino which is a single-board microcontroller and a software suite for programming it.
I will try to make some sensors/switches connected to the internet through the Arduino and control them from an android phone.
At first, I made a development environment for the Arduino. This was really simple way for my PC (Win7 64bit).
- Connect the Arduino to PC with USB cable.
(In my environment its device driver was automatically installed) - Download zip file of IDE from an official web site.
http://arduino.cc/ - Unzip it.
- Run arduino.exe.
- Choose your Serial Port in menu [Tools -> Serial Port].
(You can confirm its number in the Device Manager. In my case, it is "COM4.")
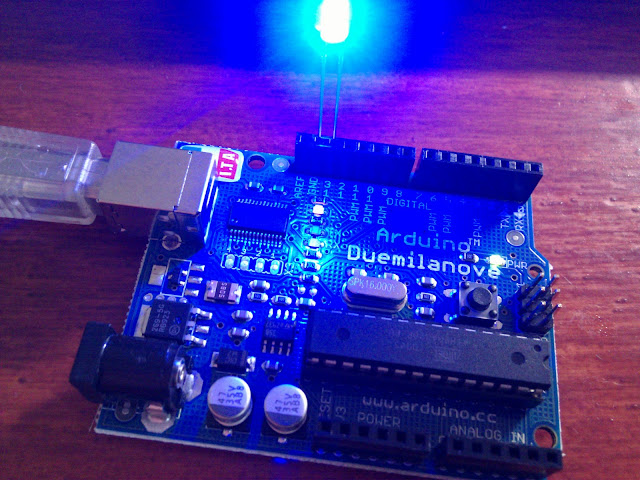
Then I test a simple sketch which blink LED. In Arduino community, code is called "sketch" and it is similar to C/C++. The sketch is below. Insert a LED into Digital 13 socket and upload the sketch . (I didn't use any register with the LED, but it's not good exactly)
// Blinking LED

#define LED 13 // Digital 13 for LED

void setup() {
  pinMode(LED, OUTPUT); // set the pin output
}

void loop() {
  digitalWrite(LED, HIGH); // LED on
  delay(1);
  digitalWrite(LED, LOW);  // LED off
  delay(1000);
}
I confirmed my Arduino works well, so next time I'll try to use some kind of sensor. :)